Racks on Racks on Racks- DIY Clothing Rack
DIY CLOTHING RACK;
I love DIY projects and I'd like to think that I am a pretty handy chic! I was in need of a sturdy rolling rack to hang garments, so I decided to make my own. It turned out really cute and was much easier than expected.
If you're in need of more clothing storage, here's what you need to your very own:
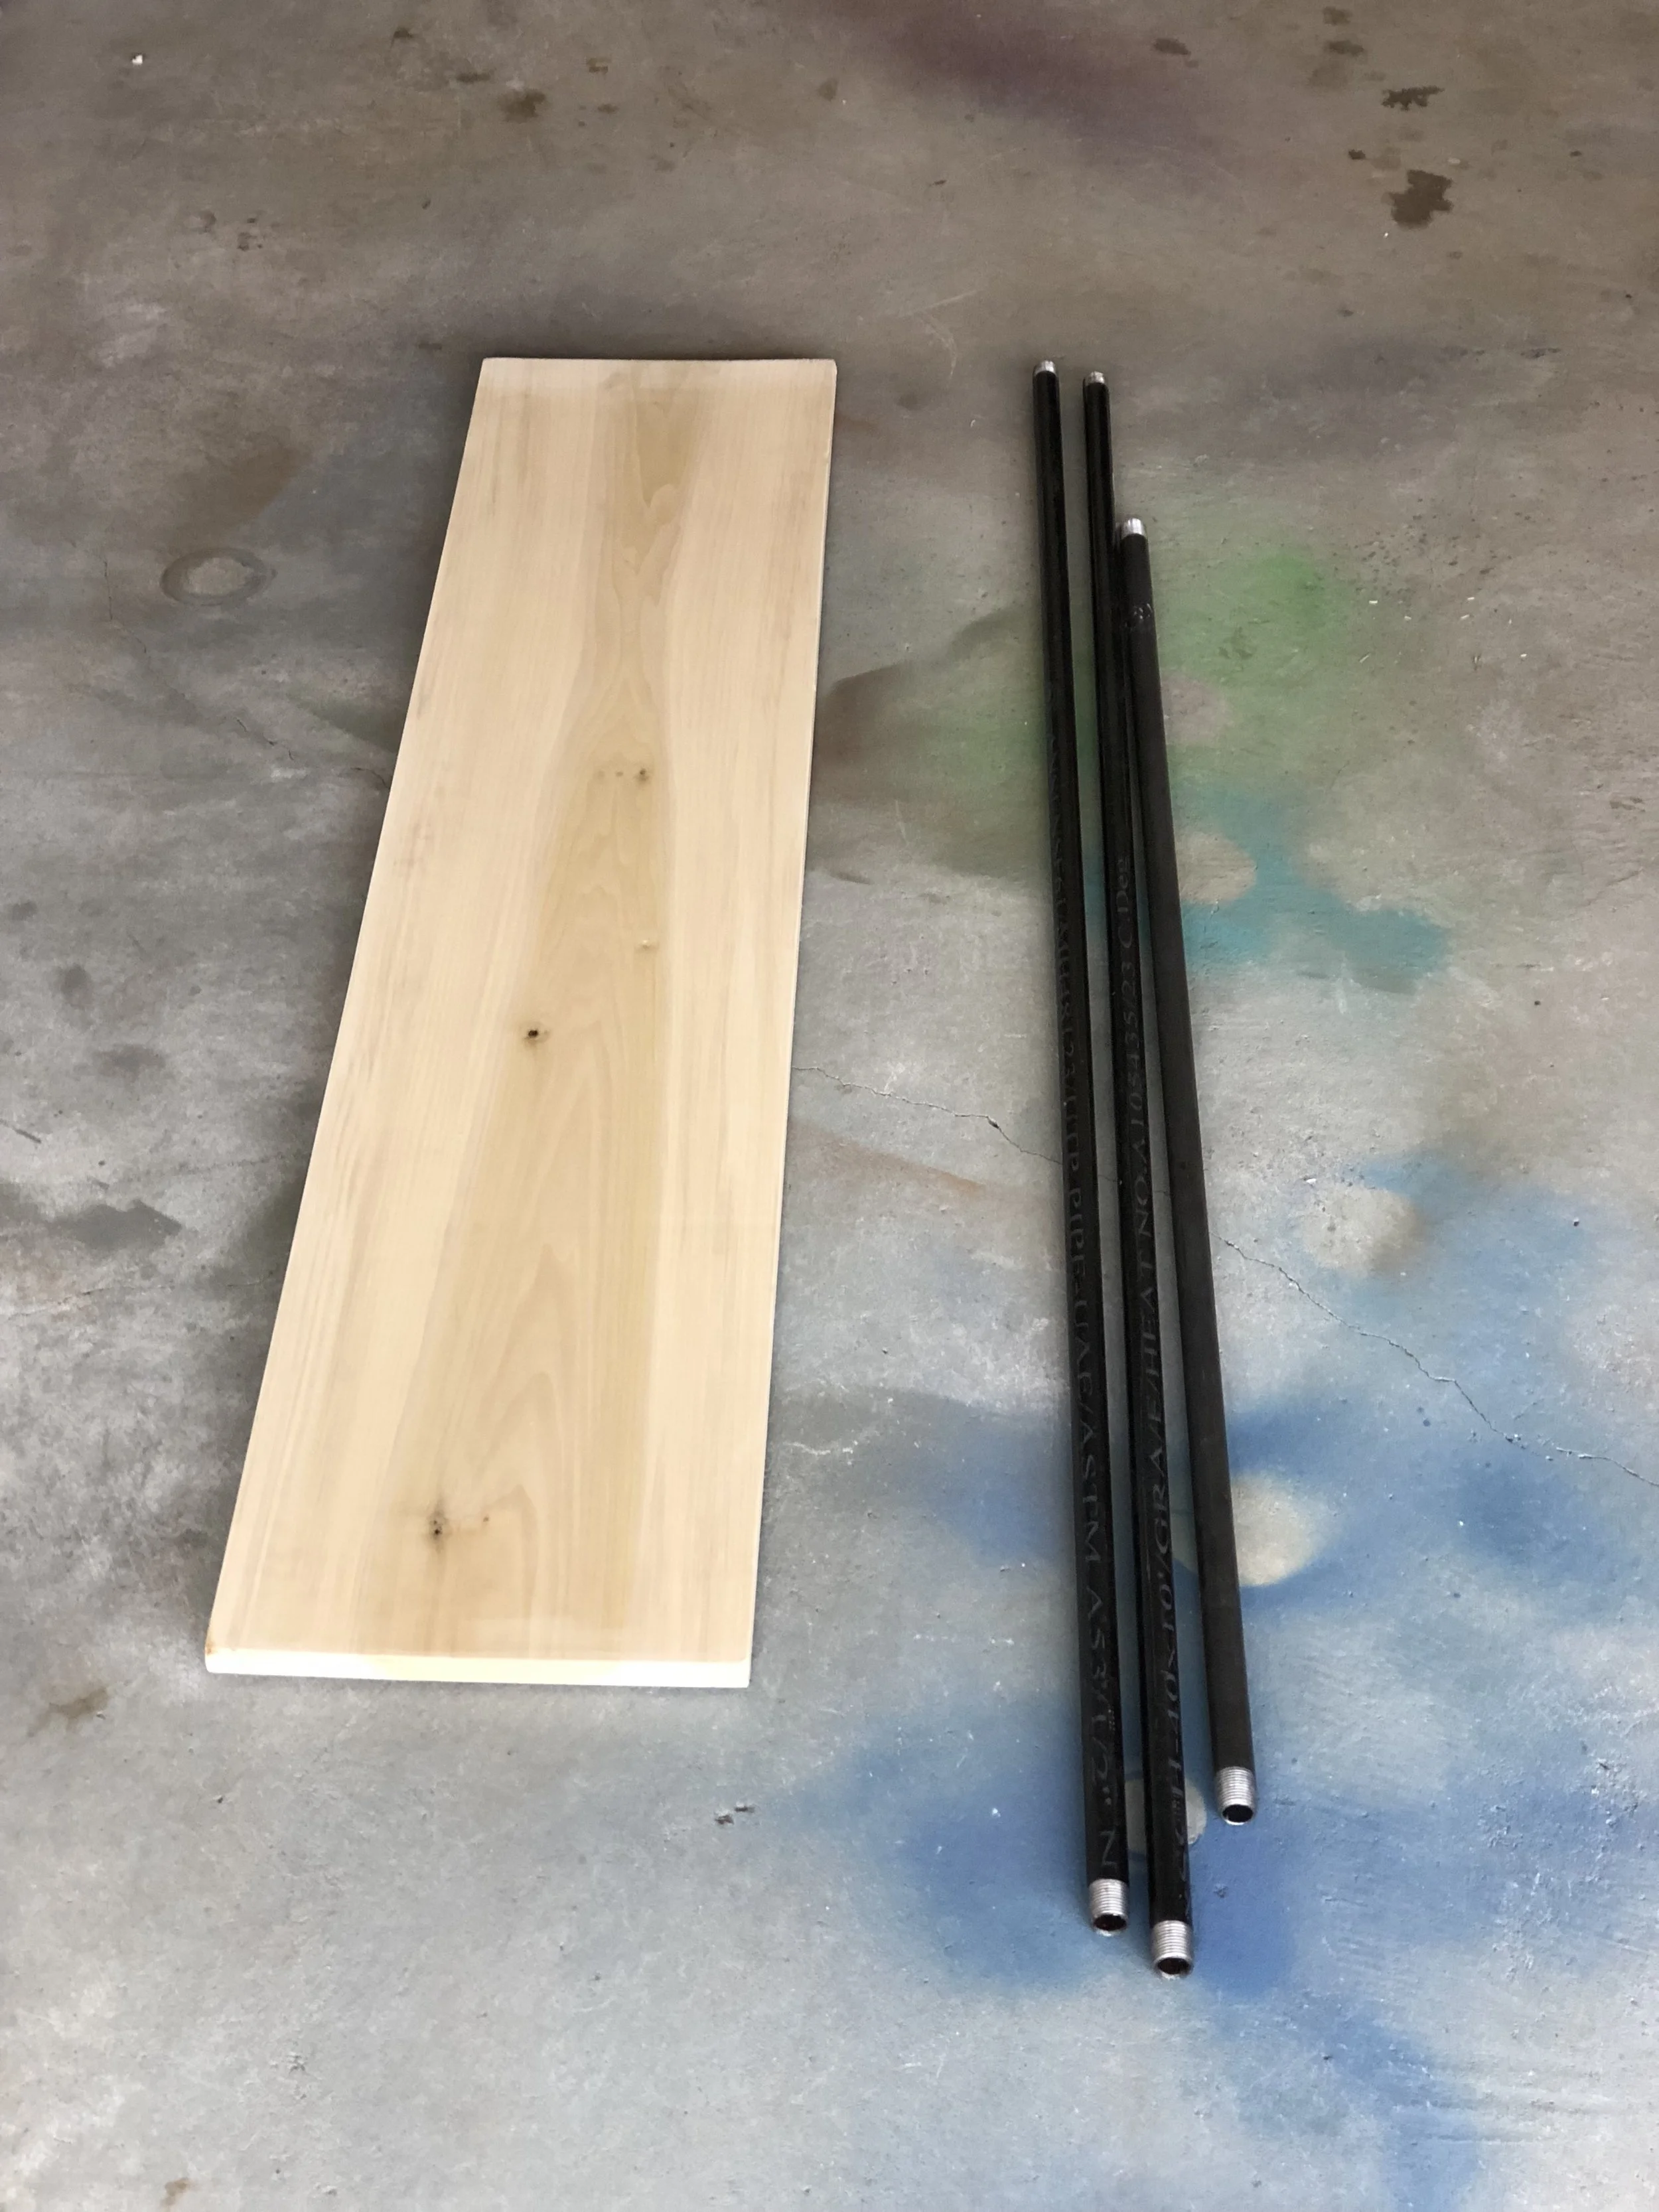
• Two 5 foot long pipes *I used 3/4 inch plumbing pipes. Tip: The Home Depot will cut and thread the ends for you for free. Score!
• One 4 foot long pipe
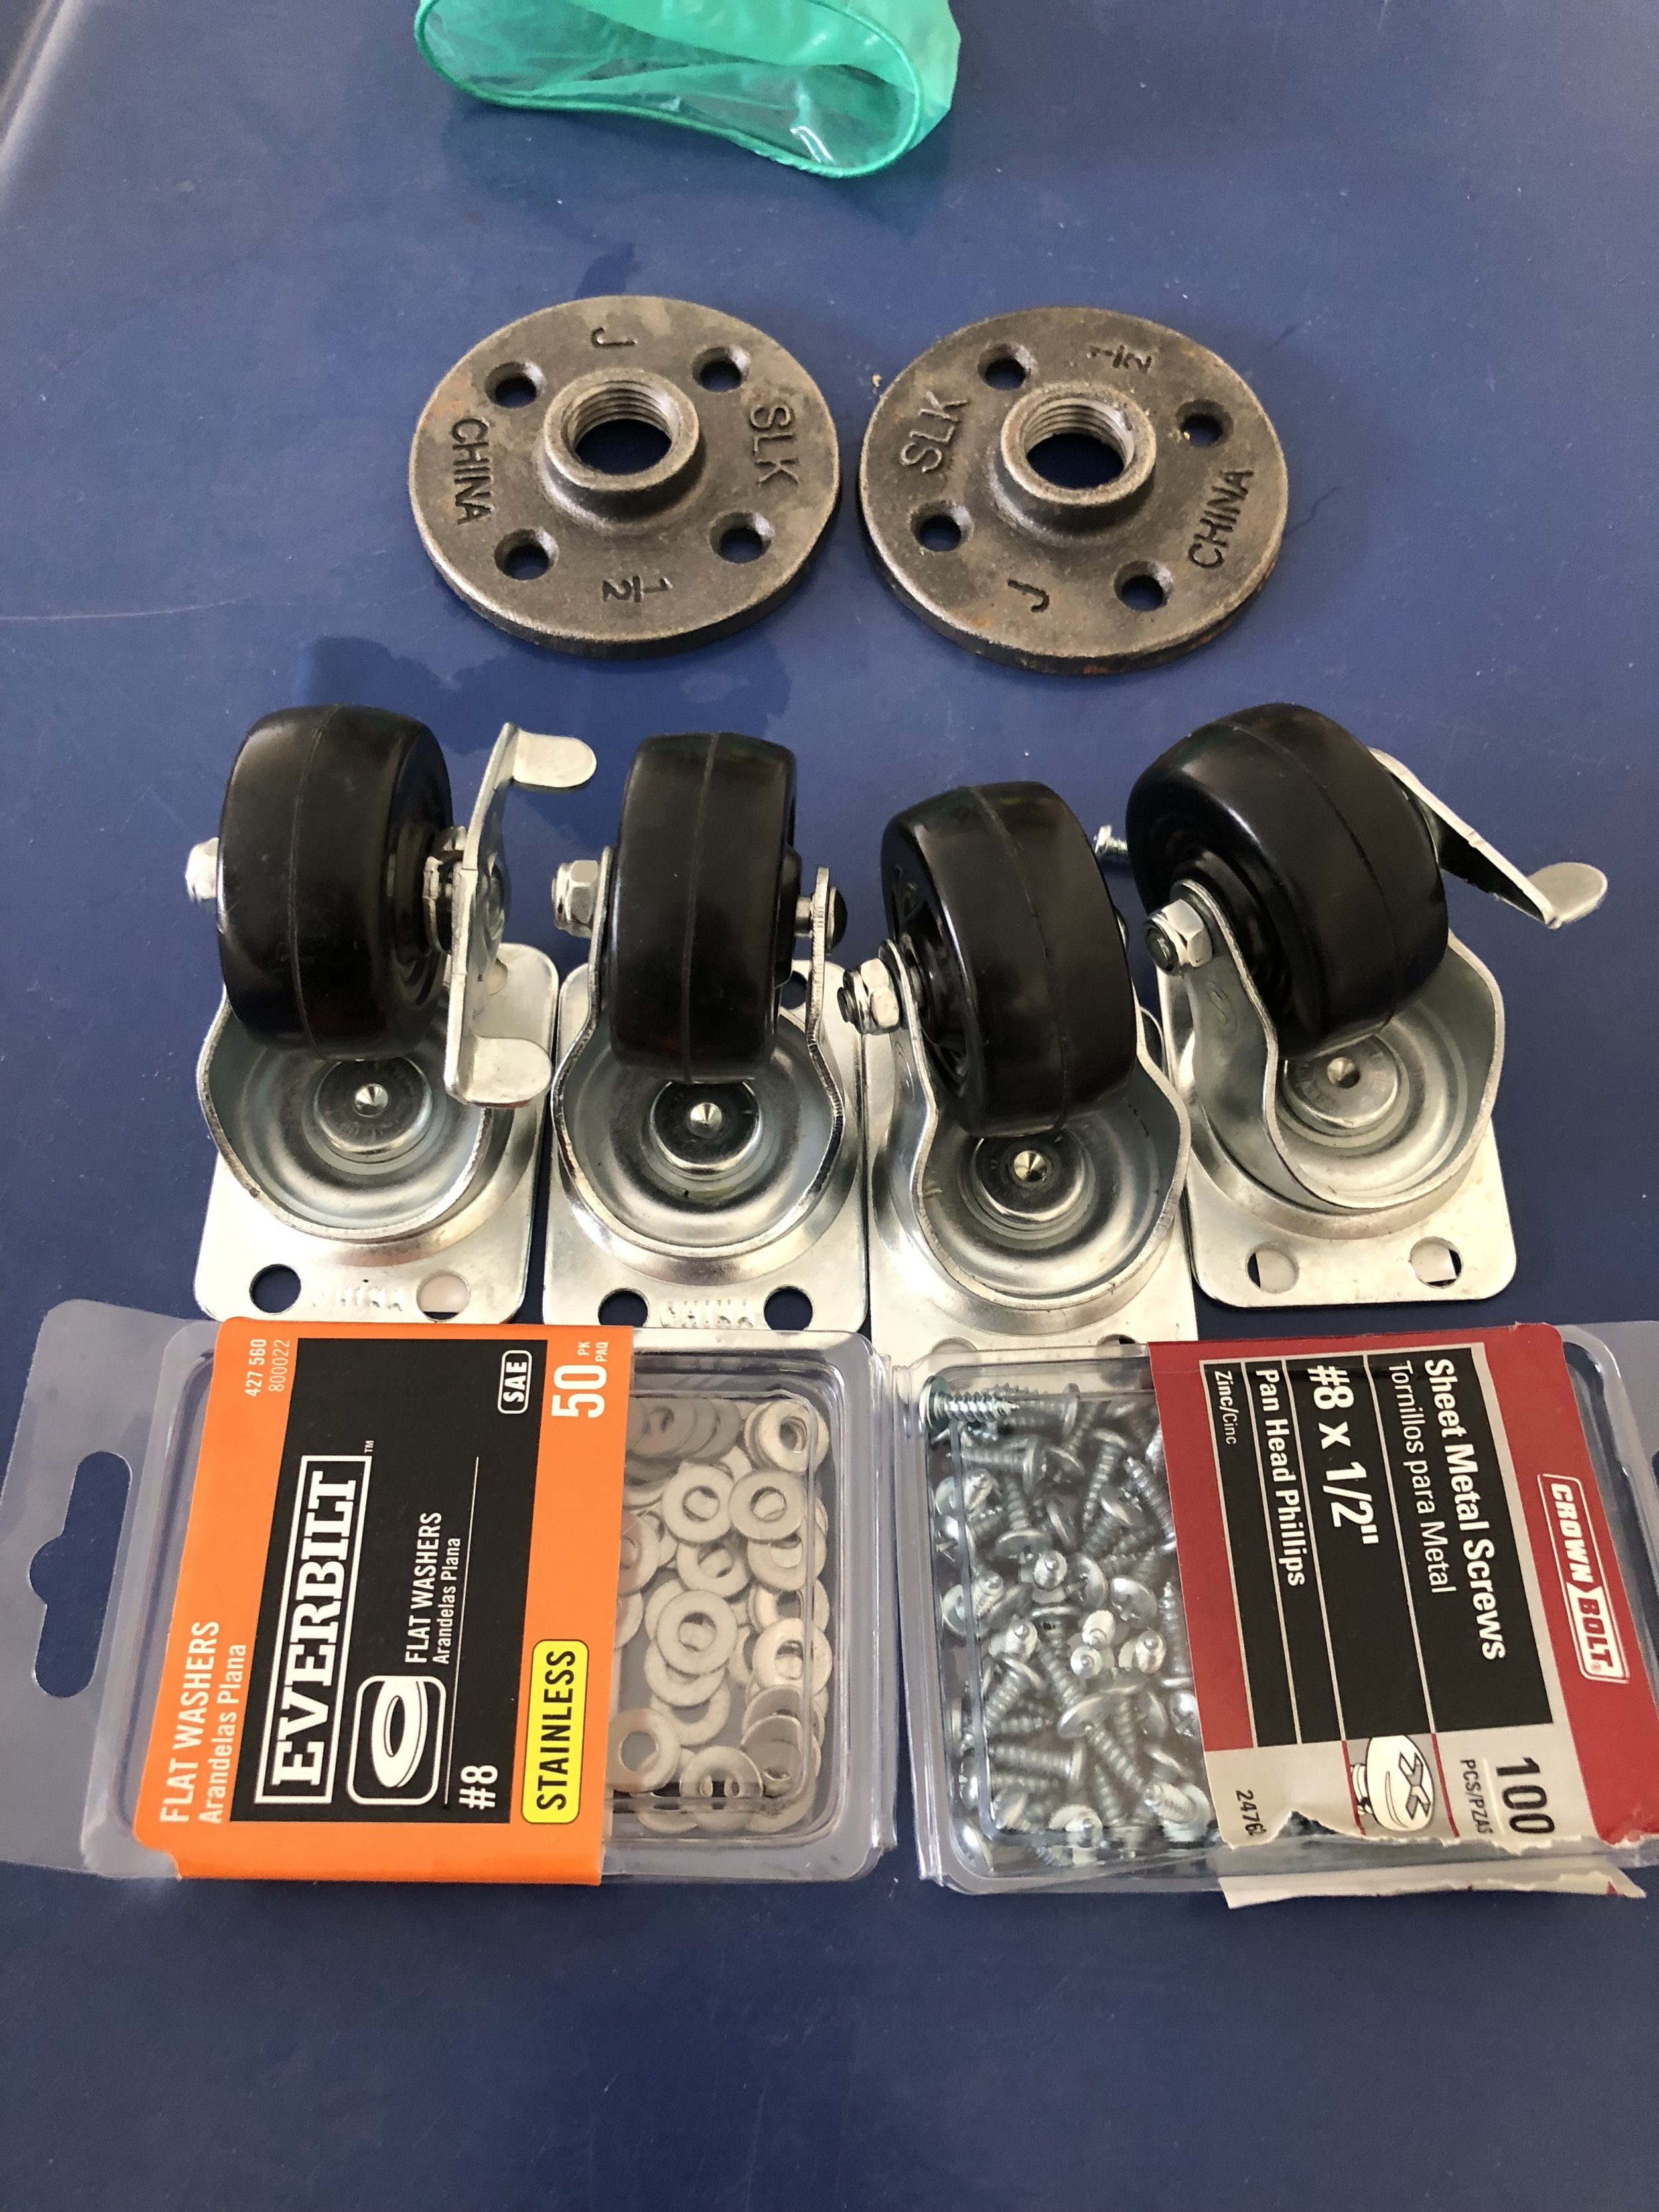
• 2 Flanges
• 2 Elbow pipe connectors
• 4 Caster wheels
• One 4x1 plywood plank
• Pack of screws
Optional: wood stain, spray paint & washers
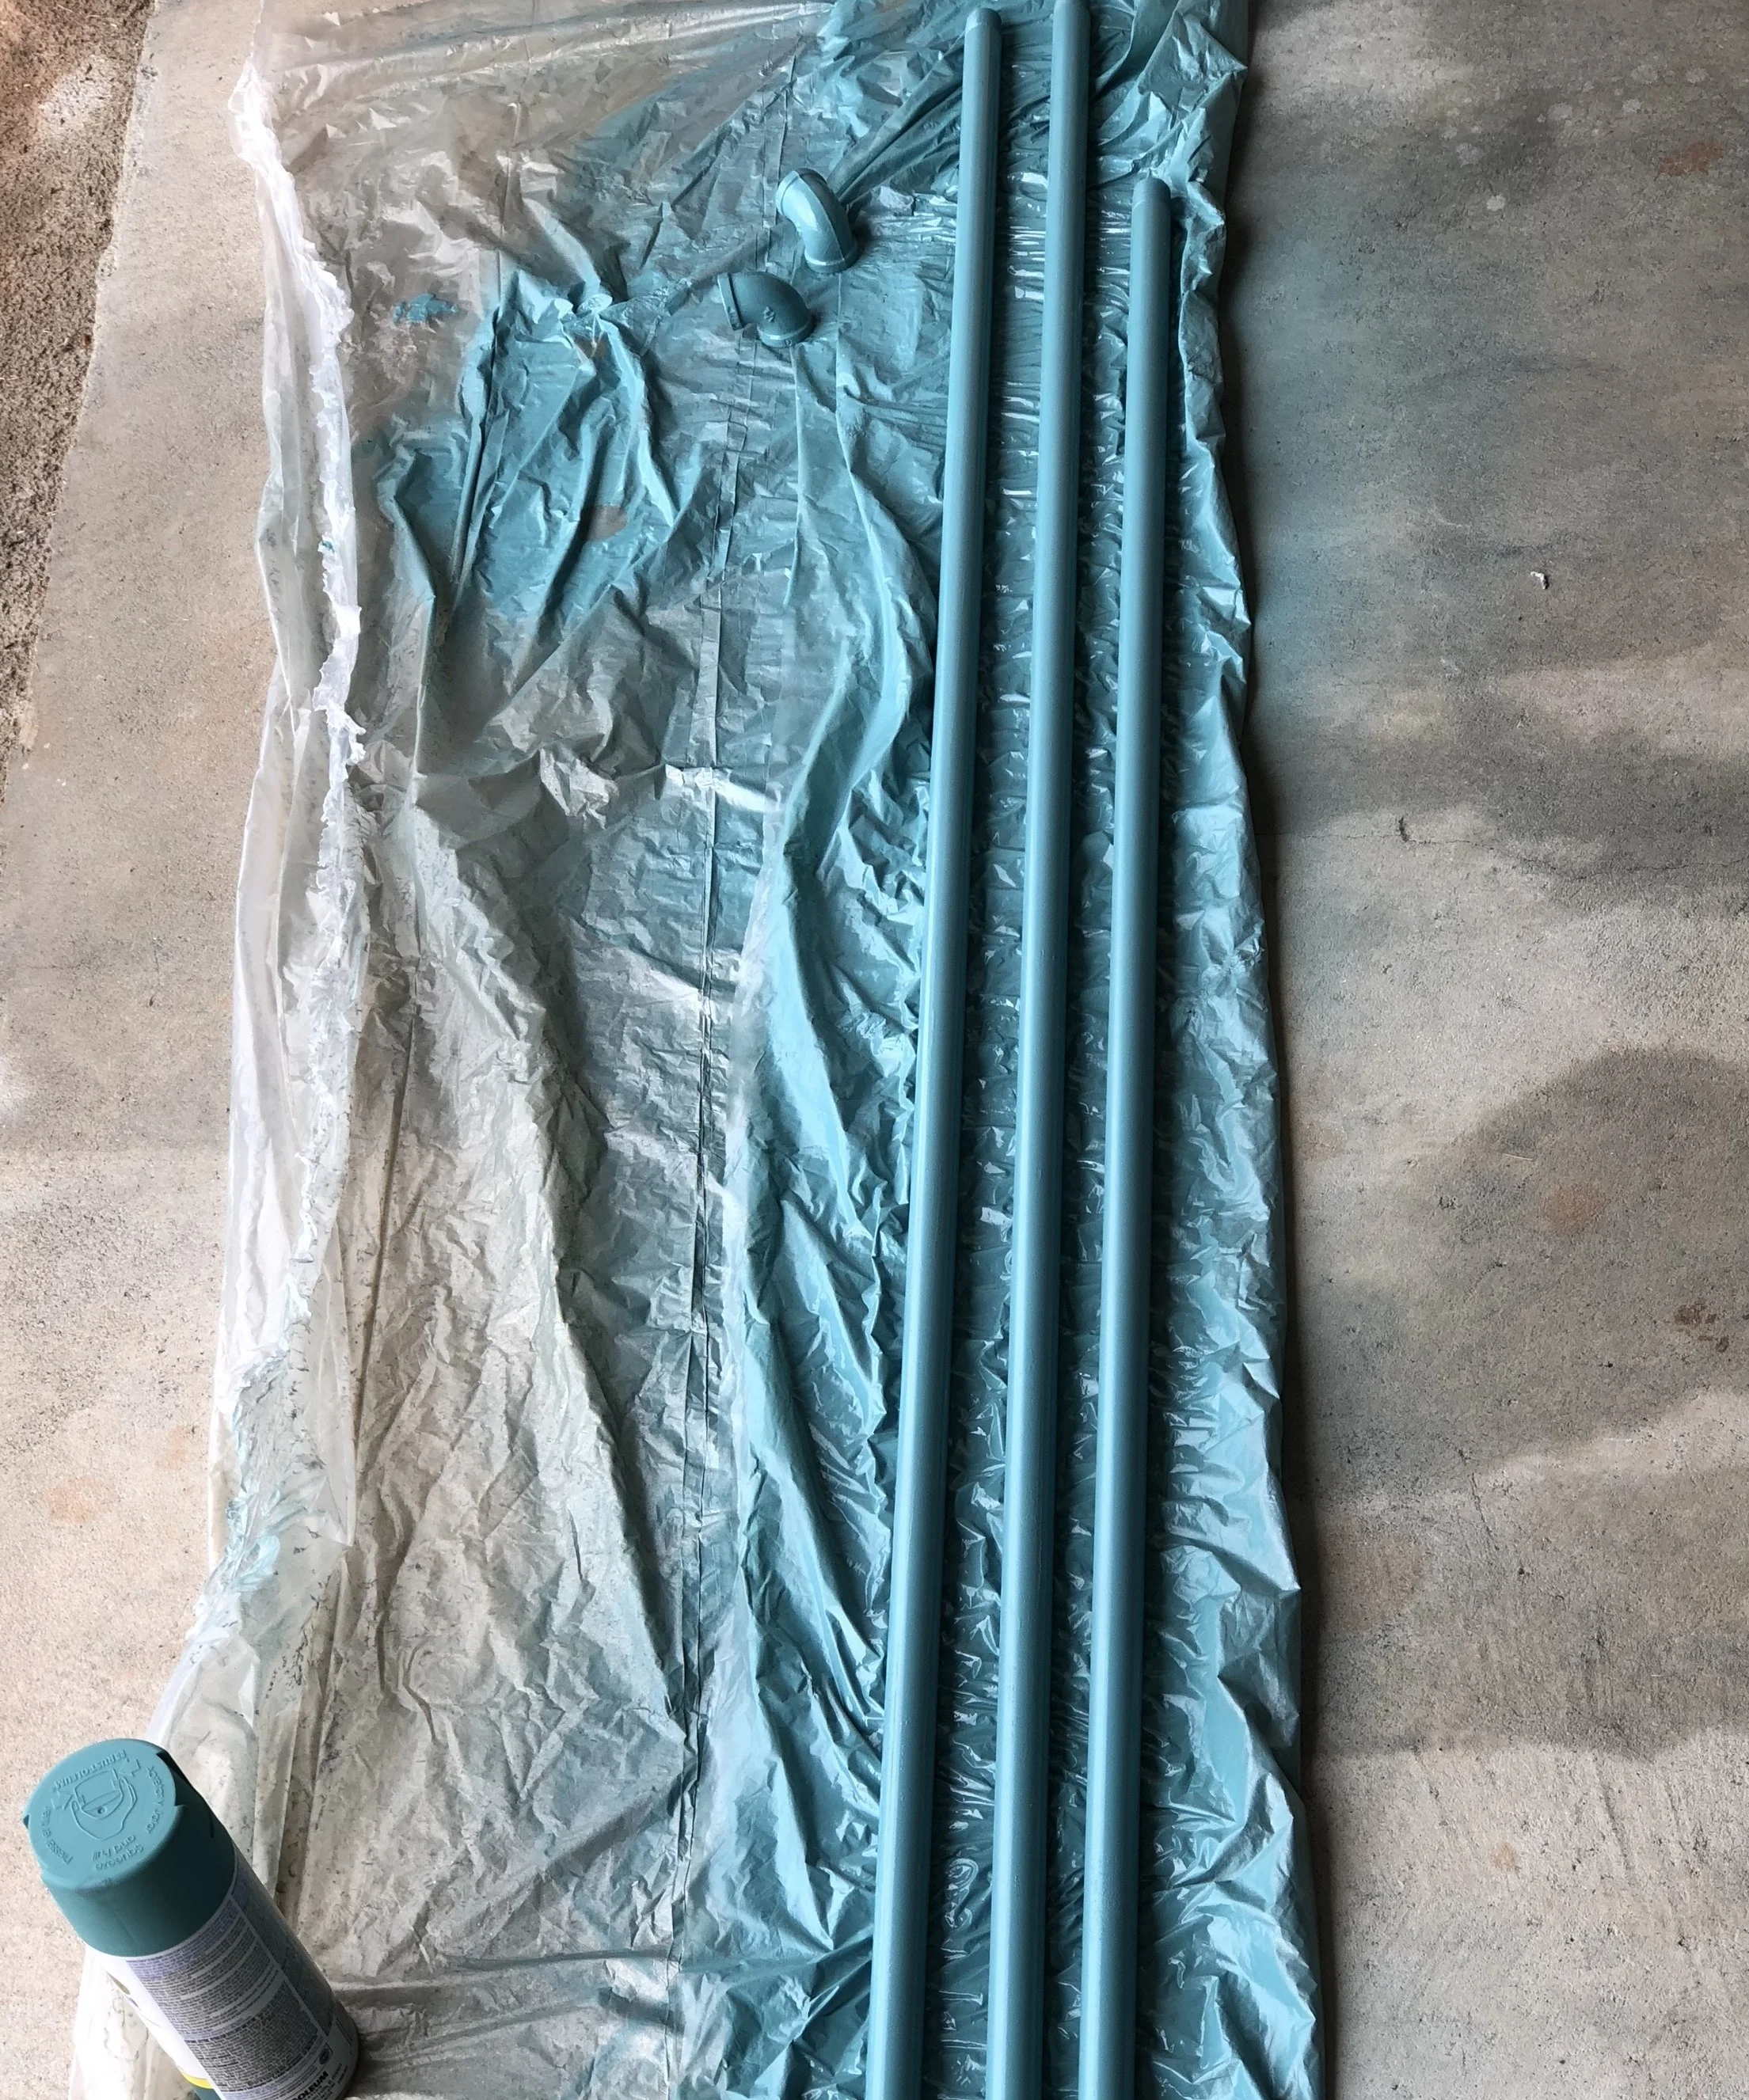
The first thing you'll need to do is wash the pipes with dish detergent because they are usually oily and gross. After the pipes dry, spray paint them if you'd like (this is optional). Then lightly sand the ends of the plywood plank and stain it a chestnut color (this is optional). Be sure to allow the pipes and wood plank time to dry fully.
Next step is screwing in the caster wheels on each corner of the wood plank around an inch from the corners. A drill and electric screwdriver makes this step much easier, but it's not necessary--a screwdriver and elbow grease will work also. On the other side of the wood plank, measure and mark where your flanges need to be placed (by measuring the length of your 4 foot pipe or whatever length you decided on).
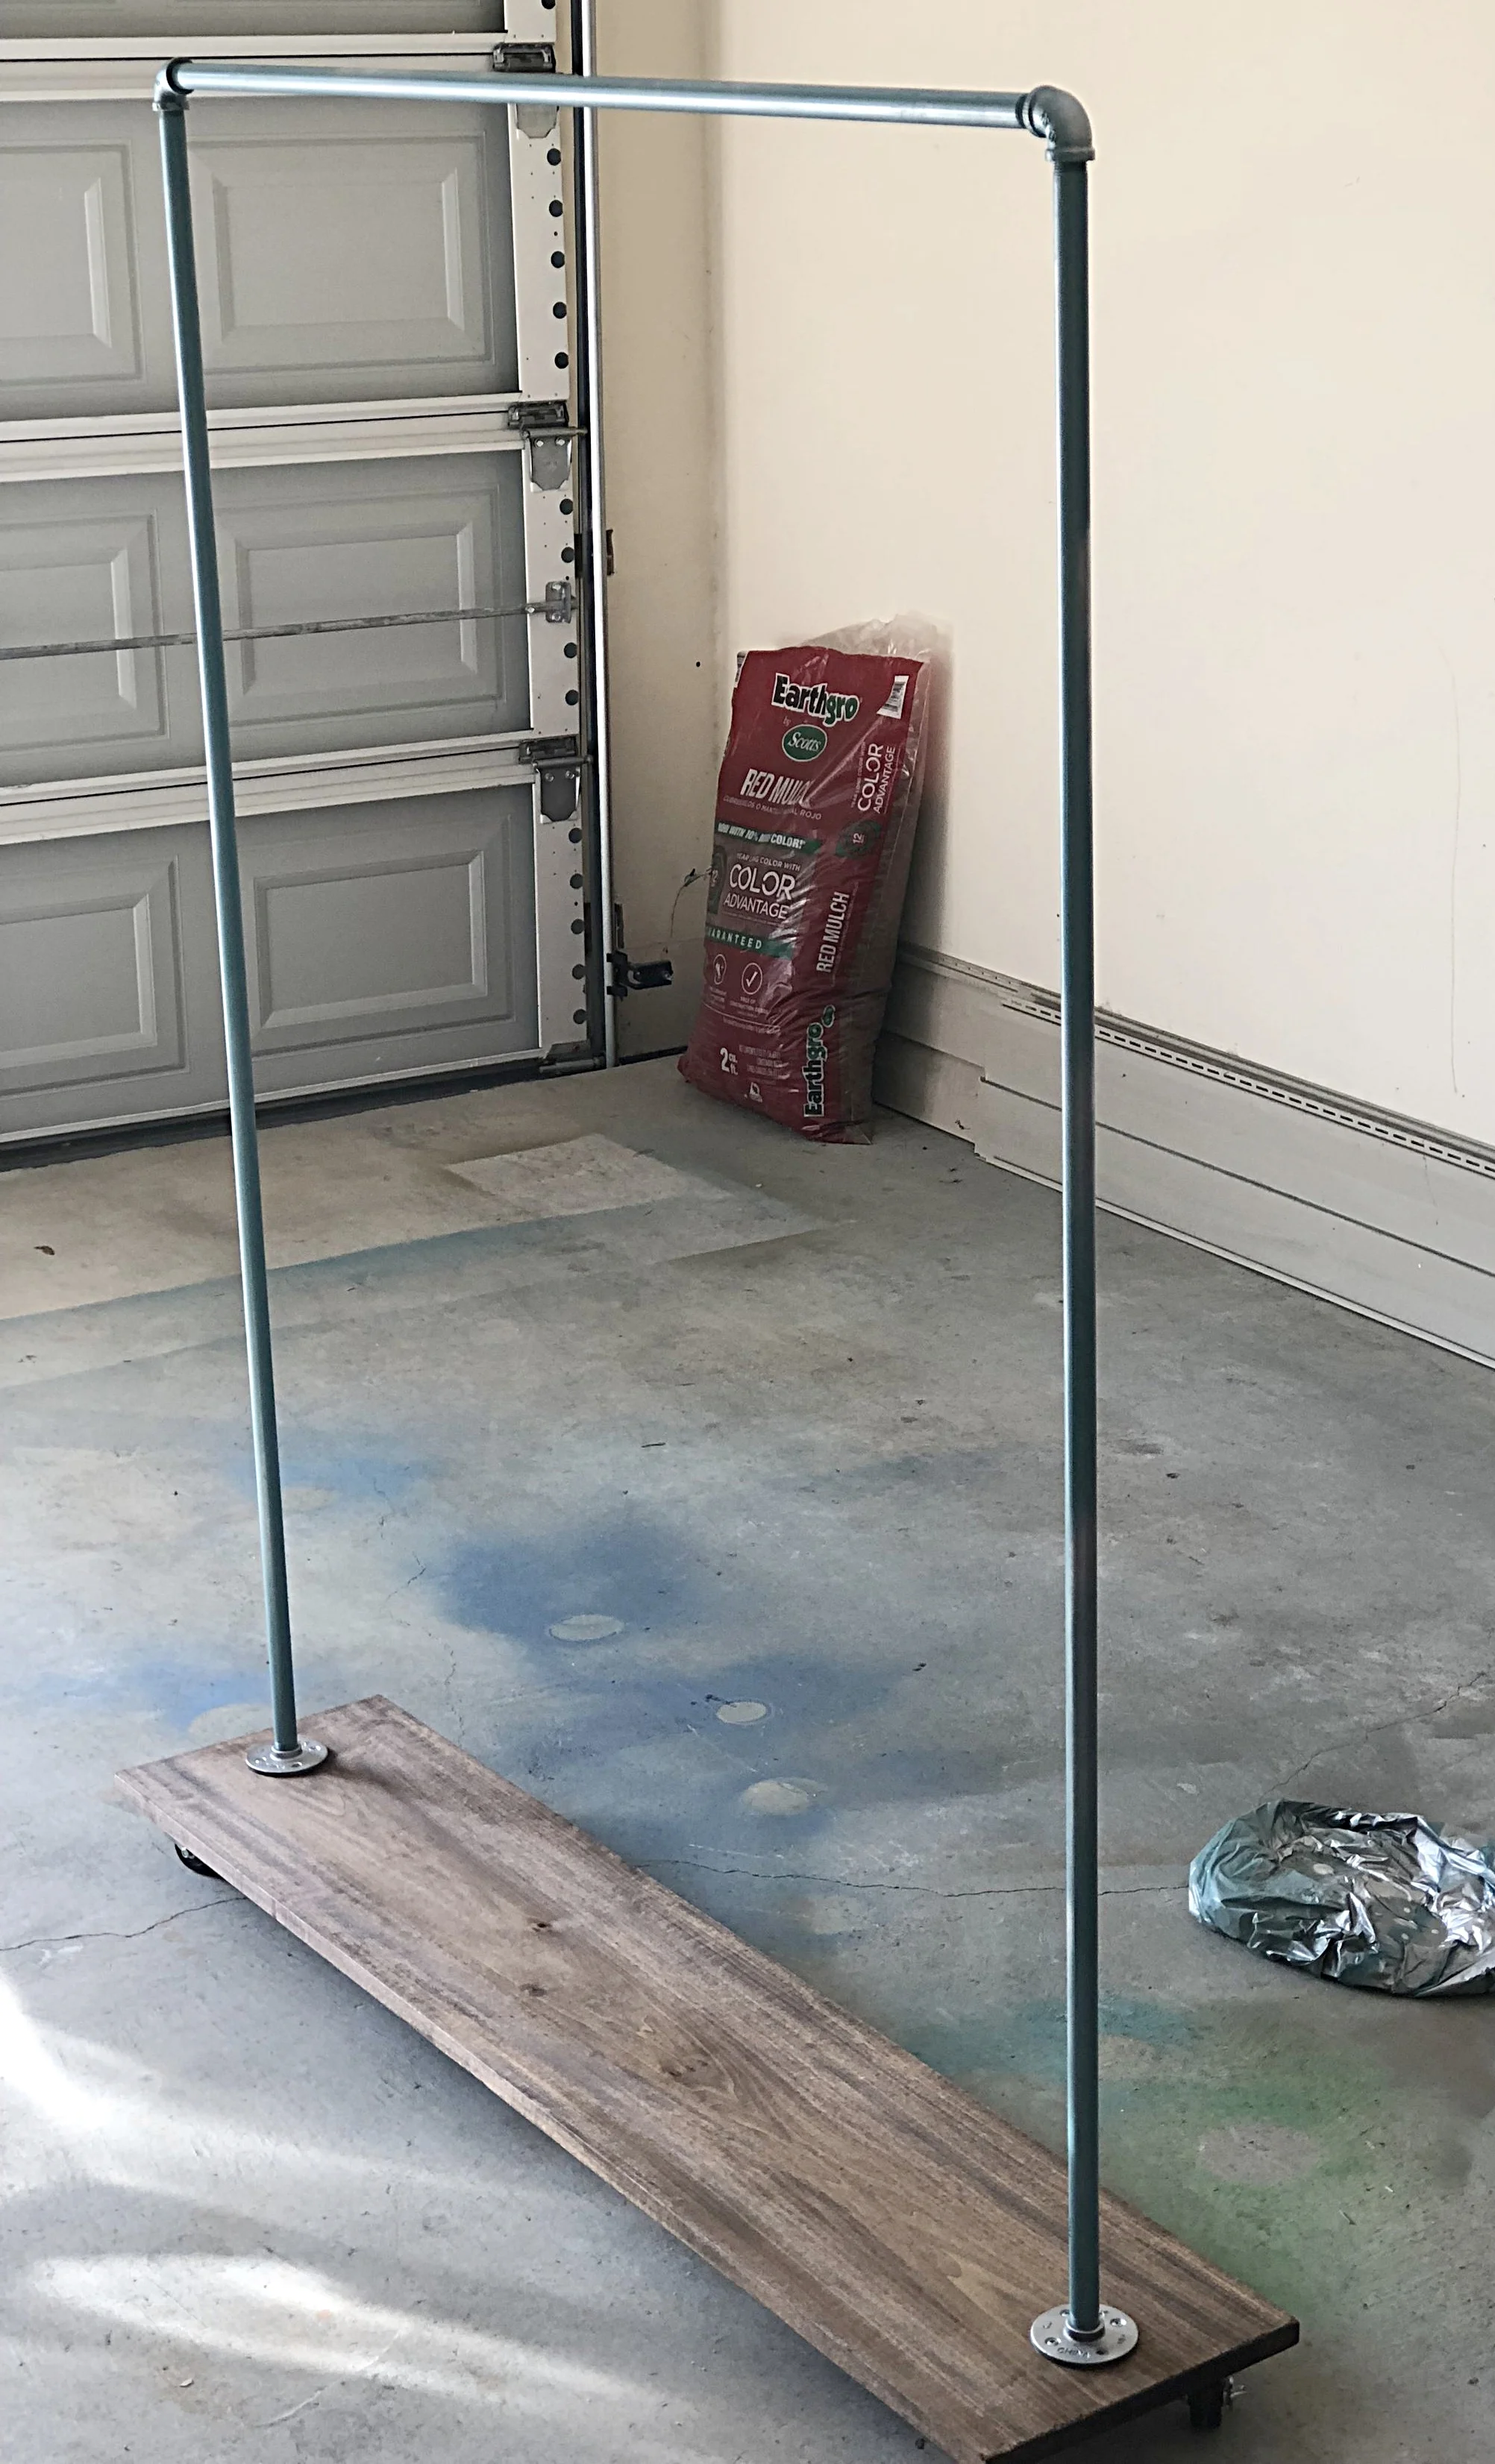
Start by screwing down only one flange to the wood plank. Twist the first 5 foot pipe into the flange, then connect the elbow pipe to it and screw the 4 foot pipe in. Next, connect the second elbow pipe (to the 4 foot pipe) and screw the second 5 foot pipe into it (the elbow pipe). Lastly, you will attach the second flange to the bottom of the second 5 foot pipe and screw it down to wood plank.
FIN!


